

A few common questions new customers ask regarding our product – what exactly is Instant Granite? What is the material? How do you install it? Is it durable? And I totally get it. When you hear “peel and stick self-adhesive vinyl counter top wrap” your mind may freeze up. Is it contact paper? Will it rip easily? Will it stand up to everyday wear and tear in a kitchen? Well, I am here to tell you – this is not your mama's contact paper / shelf-liner paper. Born out of the printing industry, Instant Granite strives to provide customers with a durable, long lasting, and affordable solution to ugly counter-tops. But….what exactly is Instant Granite? I’m glad you asked….

The marriage of material and design is what sets Instant Granite apart from the other counter top contact papers available. We use a durable, calendered, PVC vinyl as the starting point for our products. We harnessed the relationships we’ve built with overseas factories during our times in the printing industry to import quality vinyl that is made to last. This is the same material used by printers and sign shops that wrap vehicles – waterproof, weatherproof, life-proof! We know that a beautiful counter does no good if it can’t be lived with. After all, isn’t the best part of a beautiful kitchen the memories made in it?
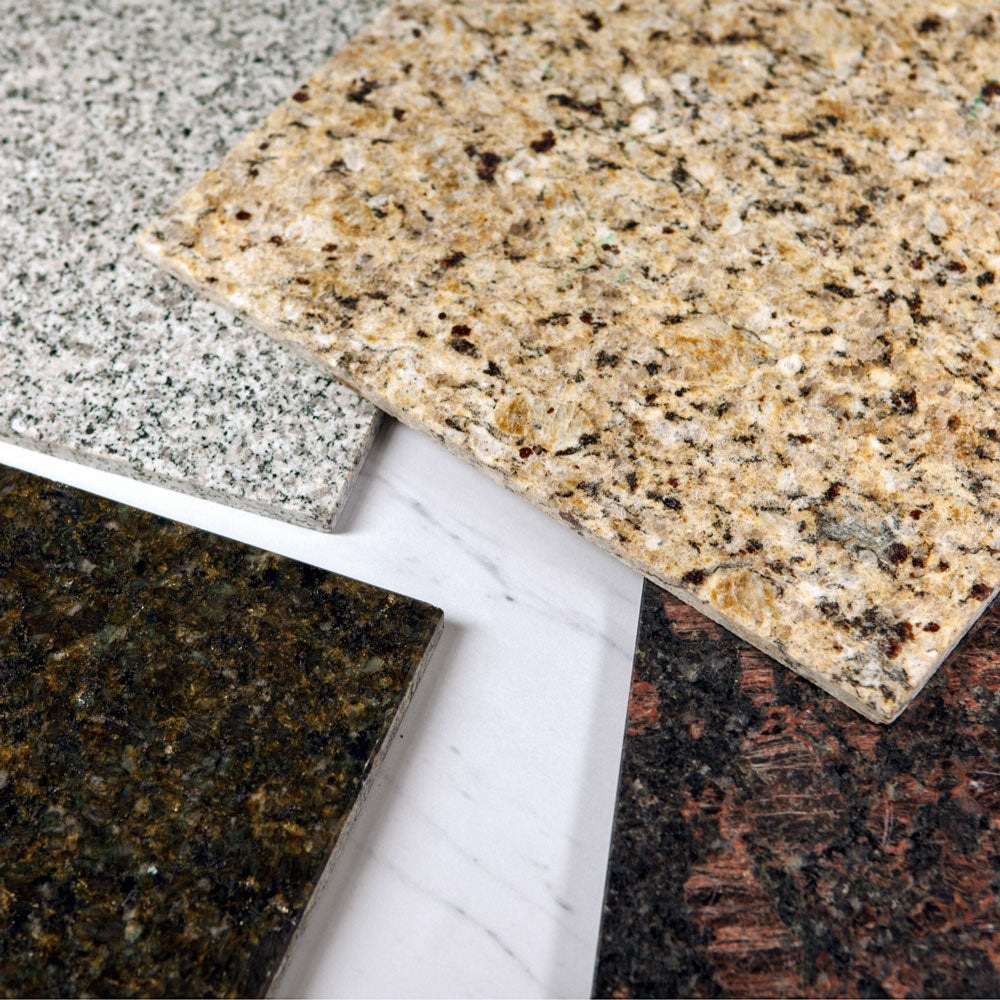
On the flip-side of that coin, a durable counter with an ugly, dull, or otherwise generic design is equally disappointing. Our company believes in accessibility to style. This is why we spent hours creating high resolution images of real granite, marble, and stone to print on our material. We print our material in batches weekly at our warehouse in Atlanta, GA and we pay special attention to each roll. This adds a measure of quality control that just wouldn’t be possible if we bought our material pre-printed from overseas. We believe the patterns currently offered are optimized to look as real in your home as possible. The goal of Instant Granite is to help you make your dream home a reality! If you unsure of the pattern you would like to go with, please order samples! They are an invaluable resource when planning your project.

Your Order:
You’ve decided on the pattern you like, its project time! First, you’ll want to order the correct amount of material. All of our products are sold in a standard 3ft width, we find that this is typically deep enough to cover most kitchen/bathroom counters. Next, measure the length of your counter. We offer Instant Granite in various lengths, ranging from 3ft to 18ft. We are always happy to combine any lengths to create the perfect size for your project! If you are having trouble measuring your space, or have any questions – shoot us an e-mail at info@applianceart.com, and we can help you out! Give us a shout if you think you need a custom width, and we can guide you in the right direction.
Instant Granite Installation:
Materials Needed:

- Handheld squeegee (included in order)
- Scissors or utility knife
- Tape measure or ruler
- Pencil or pen
- Hair dryer or heat gun
Prepare for Instant Granite Install:
- Instant Granite adheres to any smooth surface and the product will work best with non-porous surfaces (if your counters feel rough on the underside, then please be sure to read the “Edges & Corners” section below).
- It is essential that the surface is dust-free. Clean the surface thoroughly with 409, Windex, or other household cleaners.
- Make sure the surface is completely dry.
- Rough surfaces should be sanded smooth and cleaned prior to applying.
- Please be aware that if there is a texture on the surface this may show through the film. (ie: orange peel texture, hair line scratches).
Install Instant Granite:
- Cut the size of piece to the size you need. We recommend cutting a bit larger than the piece you actually need – you can come back and trim perfectly at the end.
- Remember – measure twice, cut once
- When decorating larger surface areas, remove 6 inches of backing paper and line it up at the edge / end of the counter. Make sure the material is pulled taught when you begin applying; otherwise, a crease may occur during the install.
- Smooth down this initial section first. The Instant Granite “No-Bubble” adhesive has a distinctive pattern that will allow air to escape through the channels. Simply press the bubble and watch it move and shrink.
- Slowly and evenly remove the backing paper with one hand, and progressively smooth down the film with the other hand. Always smooth from the center to the edges. The goal is to push the air out from the center towards the edges/front.
- For best results smooth with a soft cloth or plastic squeegee which allows you to flatten out any air bubbles or creases. If an air bubble larger than a quarter occurs, carefully peel the material back and reapply. If you pull the material UP, it may stretch the material.
- Always try to pull the material back, along the surface of the counter. If the material does stretch, warm it up with a hair-dryer on high, or a heat gun on low, this will return the material to its original shape. Let it cool before continuing.
- Should air bubbles form nonetheless, prick them with a pin and flatten, or push them towards the edges. And if the film has been applied crookedly, no problem: since full adhesion first occurs after several hours, the crooked film can be carefully removed without stretching and reapplied correctly.
How to Handle Edges and Corners:
- We recommend using a heat gun or hair dryer for this application to make it easier.
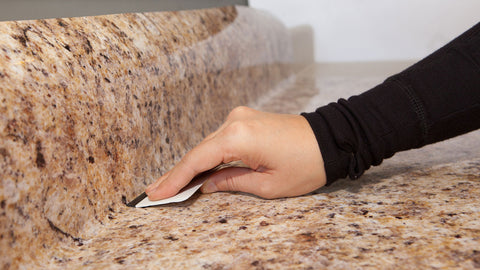
- To apply Instant Granite cleanly and exactly on edges and corners, overlap the edges by ½ inch. Then, using a sharp knife, cleanly cut along the edge and lightly rub the cut with a finger-nail or the edge of the squeege.
- If you prefer to apply around an edge, carefully wrap the film around pressing lightly while warming the material with a heat gun or hair dryer. The heat releases the tension and the Instant Granite adheres firmly to the edge.
- You can either trim along the bottom edge of the counter, or wrap it under the counter if the surface is smooth. If the underside of the counter is rough (like particle board), you can use caulk or liquid nails to keep it in place. (**Pro Tip: I think the easiest solution is to trim the material rather than wrapping it underneath the counter. For best results, use the heat from the hairdryer to get a tight fit to your counter edges)
Installing Instant Granite on the Back Splash:
- You can attempt to install the counter and back splash in one piece. This is more difficult, but doable.
- If you choose this method, you will want to use caulk / adhesive in the corner under the material to keep it tucked tightly inside the corner. Otherwise, we recommend using the excess material from the counter to cover the back splash.
- If you use 2 pieces for the counter & back splash, you will want to caulk on top of the material inside the corner to keep the pieces together and to hide any imperfections in your seam. This also prevents water from seeping between the seam over time.
Finishing the Install:
- You will want to caulk around your sink. This will prevent water from getting underneath as well as hiding any imperfections in your trimming around the sink.
- If you did not overlap seams but instead abutted them together, you will want to put some clear silicone caulk / adhesive over the seam. However, we do recommend overlapping the material.
- If you pass over the material with the hair-dryer / heat-gun ON LOW, this will shrink the material creating a tighter fit. This will also discourage air-bubbles from forming and minimize any creases or imperfections. Do not overheat the material at this point. It may distort the material.
How to Care for Instant Granite:
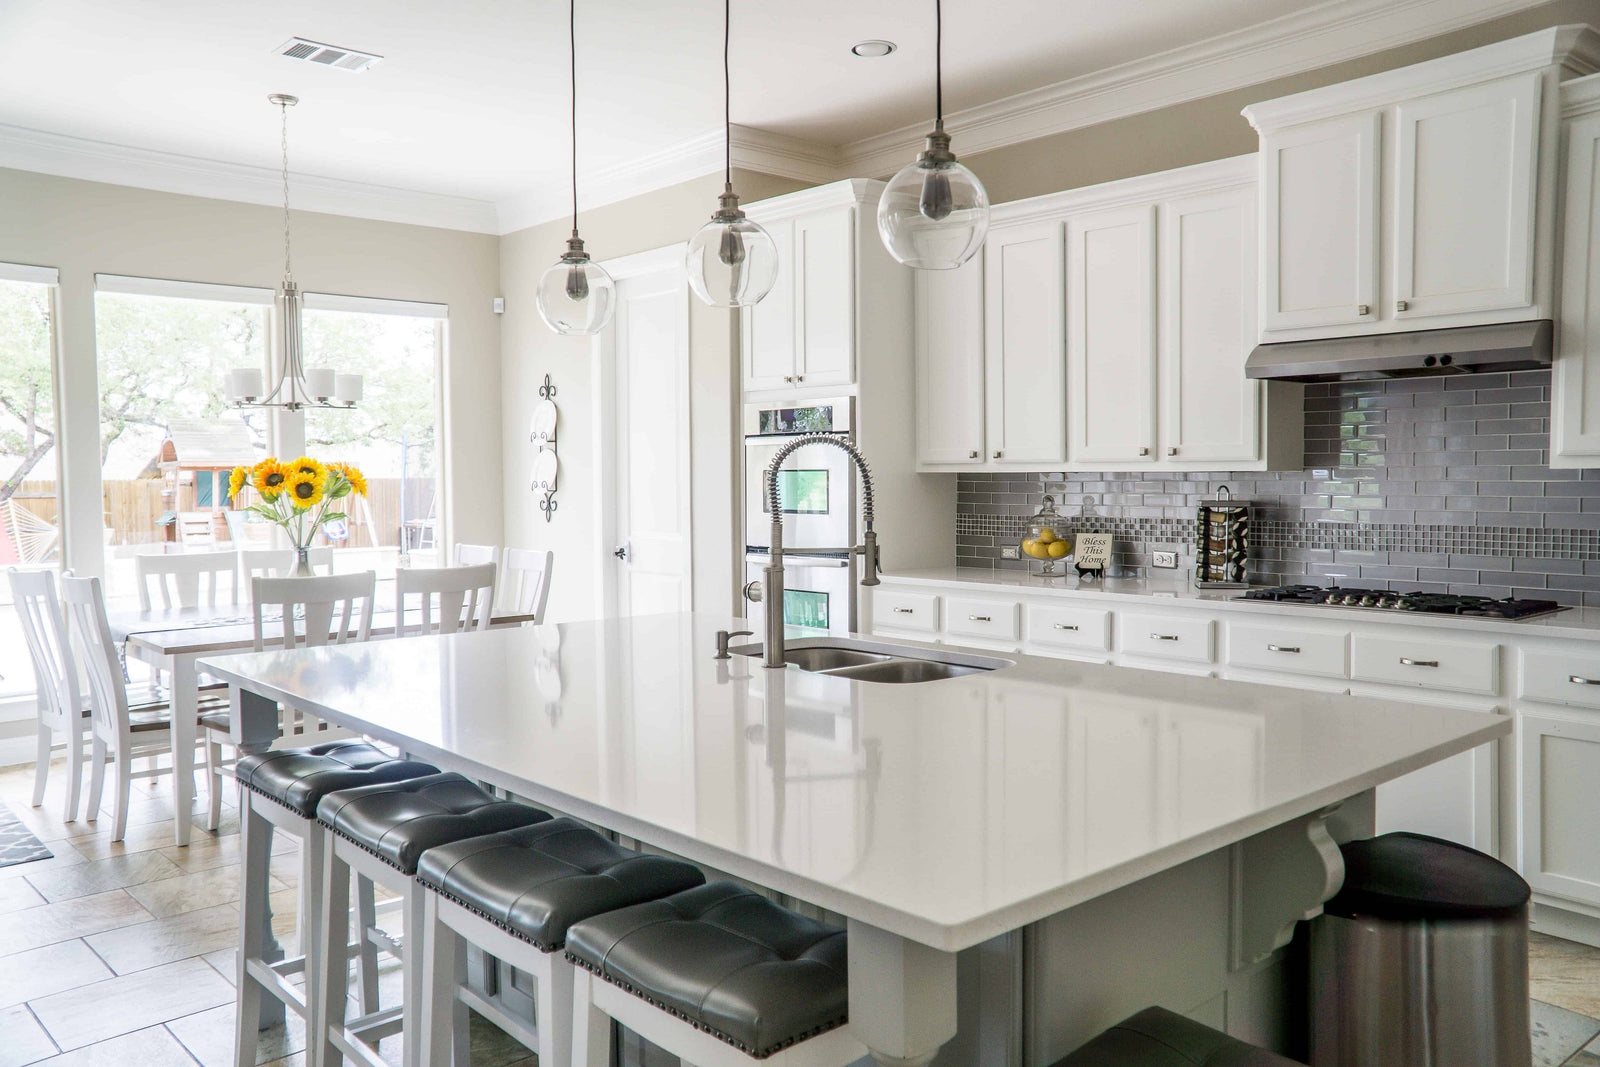
Once you’ve installed your Instant Granite it is time to enjoy the beautiful kitchen you’ve always dreamed of! However, there are a few things to be aware of to help you keep your new counter-top looking beautiful! Your Instant Granite wrapped counter-top should be treated like a laminate counter. This means: no cutting directly on the surface, use a trivet for hot pots, etc.
How To Remove Instant Granite:
When you are done with the Instant Granite on your counters – simply peel the material off of your surface! It really is that easy. Instant Granite will not cause any additional damage to your existing counter. Typically, after a quick clean up (maybe requiring goo-gone), your counter looks the exact same! But please be aware that if the counter was in poor condition before you applied Instant Granite, then you may find that poor condition exaggerated when you remove the Instant Granite. Specifically, many of our customers who tried that countertop painting kit need to fix their counters within a year. We cover how to fix painted counters in this article. Also check out our article on how temporary Instant Granite really is to learn more about the removal process and how it works.
Shop Instant Granite


Leave a comment (all fields required)